

Table of contents


No headings in the article.
Today we will see how you can Dockerize a Django app with Docker and deploy your app to Kubernetes. We will see also see how you can scale this deployment for a thousands of users using Auto-Scaling , Auto-Healing.
Steps required in this process will be as follows:
- Test the To-do Django app in your local system first.
- Write a Docker-file for this Django application.
- Build a docker image and then push it to Docker Hub.
- Start with Kubernetes using the minikube cluster.
- Create pods using pod.yaml
- Create a service.
- Write a deployment for your service and pods.
- Expose your port as an External IP.
- SSH into that IP address and check if your application is running.
Step 1 : Test your Django Application on your local system
You need to install django for running this application.
pip install django
Next you need to cd into your todo-app directory and run the following commands.
python manage.py makemigrations
This will create all the migrations file (database migrations) required to run this App. Now, to apply this migrations run the following command
python manage.py migrate
To run this app we need to configure a super admin user for our application, to do this we will execute the following command.
python manage.py createsuperuser
Let's run the our application on the server now!
python manage.py runserver
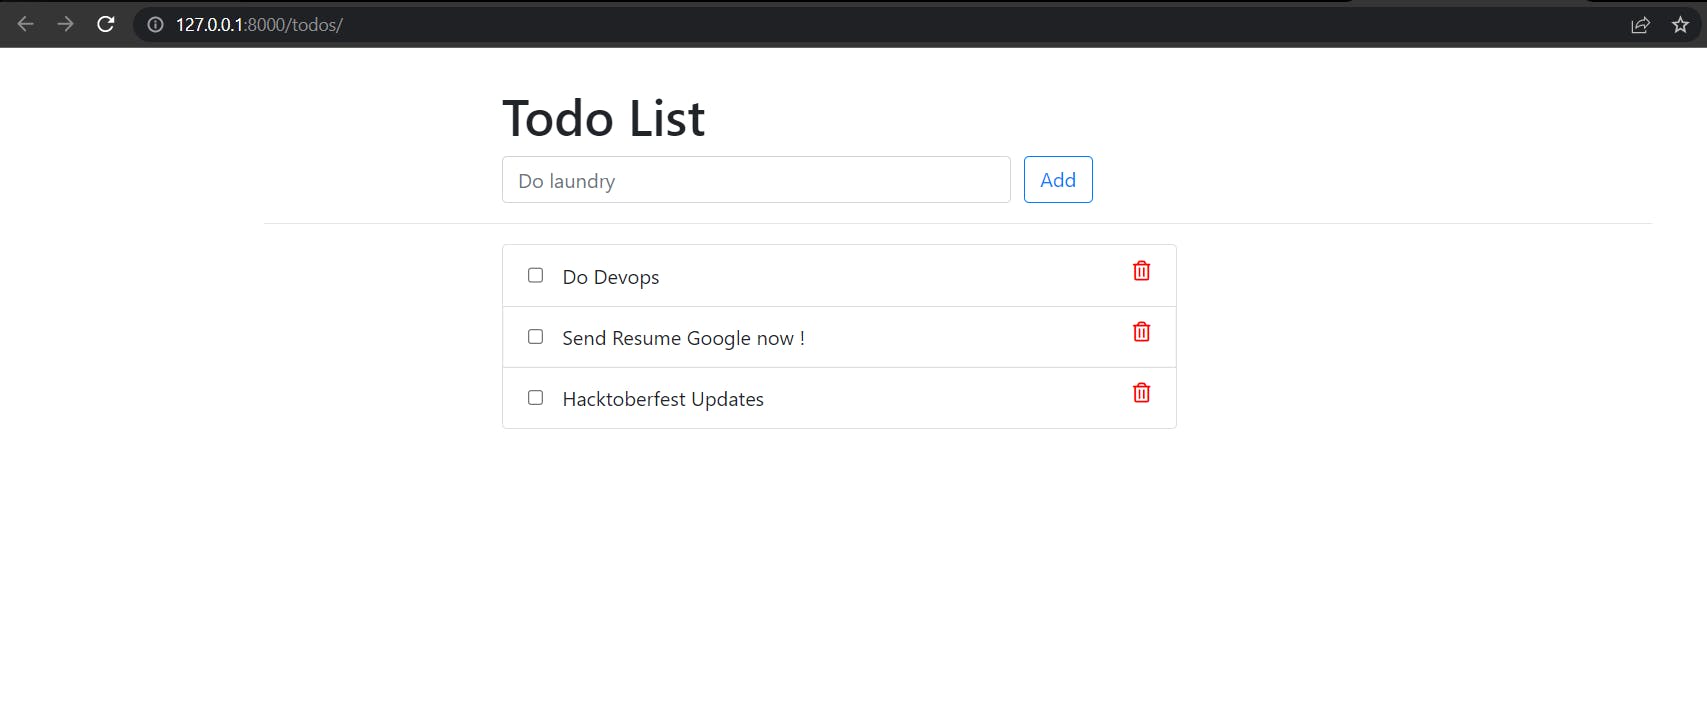
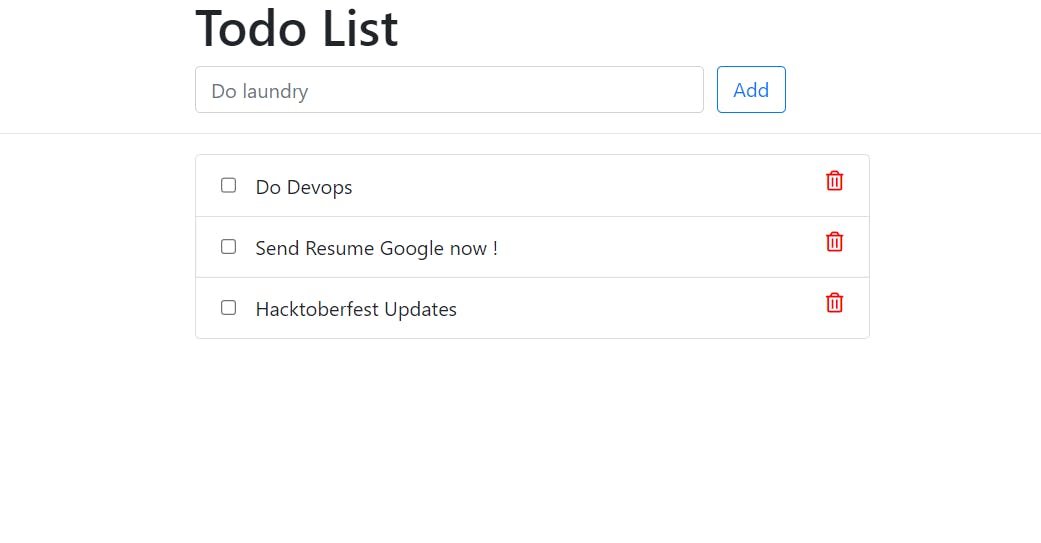
Your application would be running on the following url: http://127.0.0.1:8000/todos
Step 2 : Let's Dockerize our application now.
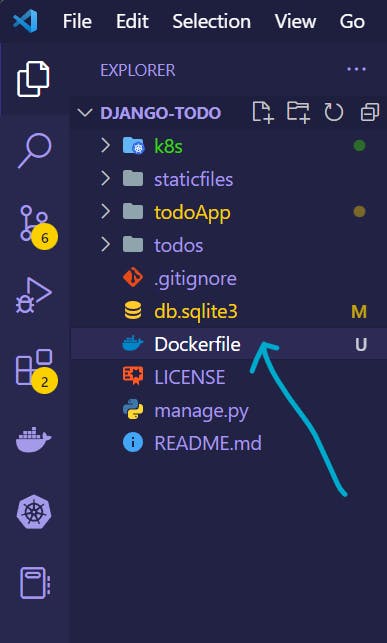
Create a new file and name it Dockerfile.
In this file we will write the commands, ports required to expose our application on the cloud or Docker Hub.
FROM python:3
RUN pip install django==3.2

COPY . .

RUN python manage.py migrate
EXPOSE 8000
CMD ["python","manage.py","runserver","0.0.0.0:8000"]
Once you have created a Docker file it's time to build an image out of it.
docker build -t jyotindrakt/todoapp:v1 .
Here jyotindrakt/todoapp is the name of my image which I am giving, v1 is the tag we are giving to our image.
Note: When building docker images you need to give a unique tag to your image to define the variations in the images when you build a new version of that image next time.
We define a tag with -t flag
- Once your image has been built you can test it by running:
docker run -it -p 80:80 77c746cb57b8
-p is the tag used to define a port, 80:80 is the ports we are exposing our app,
the first 80 is the internally exposed port & the second :80 is the
externally exposed port.
77c746cb57b8 is the docker image id of our application which we had
build in the previous step.

You can get this image id by executing: $docker images
Step 3 : Push this image to Docker Hub.
docker push jyotindrakt/todoapp:v1
Step 4: Let's Start Kubernetes !❤️
Make sure you have kubernetes configured in your system.
You need the following things configured and installed:
minikube cluster
kubectl
Docker Desktop installed and Kubernetes installed there.
Follow these links for configuration and installation
kubectl minikube cluster Docker Desktop
Create a new folder in your application with the name k8s
Create a new file as pod.yaml
apiVersion: v1
kind: Pod
metadata:
  name: todo-app
spec:
  containers:
    - name: todo-app
      image: jyotindrakt/todoapp:v1
      ports:
        - containerPort: 8000
Now let's create a deployment for these pods. deployment.yaml
apiVersion: apps/v1
kind: Deployment
metadata:
  name: todo-app
  labels:
    app: nginx
spec:
  replicas: 3
  selector:
    matchLabels:
      app: nginx
  template:
    metadata:
      labels:
        app: nginx
    spec:
      containers:
        - name: todo
          image: jyotindrakt/todoapp:v1
          ports:
            - containerPort: 8000
Apply the pod file and deployment file using the following commands.
Note: check if your cluster (minikube) is running using the minikube status command
kubectl -f apply pod.yaml
kubectl apply -f deployment.yaml
you can check if your pods and deployment are running by using these commands.
kubectl get pods
kubectl get deployment


Now if you delete any pod with the kubectl command , a new pod will appear automatically, this is called as Auto-healing & Auto-scaling in Kubernetes.
but you can see above that these pods have an IP Address which we can check on your browser, but once a pod gets deleted , the IP Address of that pod will also get deleted and a new pod with a new IP Address will appear.
This creates an issue in the deployment or for the users to access that IP Address. To solve this issue we create a service for these pods where this service will have a single External IP Address and then users/developers can access that single IP Address. Here, even if the pods get deleted, still the External IP Address of the service will be active. This is why we are going to create a service.yaml file now.
apiVersion: v1
kind: Service
metadata:
  name: todo-service
spec:
  type: NodePort
  selector:
    app: nginx
  ports:
    - protocol: TCP
      port: 80
      targetPort: 8000
      nodePort: 31000
Here nodePort is used so that we can access our application through these port
Apply this service file with
kubectl -f apply service.yaml
Check the service using kubectl get svc

You will get the output on your browser like this.
If you don't get any output on your browser, you can write this command: minikube ssh on your terminal.
then curl -L http://{CLUSTER_IP:80}
You will get CLUSTER_IP from the kubectl get svc command there.
Congratulations ⚡❤️✅🥳, you have succesfully Dockerized a django application and deployed it to Kubernetes and also implemented the feature of Auto-Scaling and Auto-healing + creating a deployment.