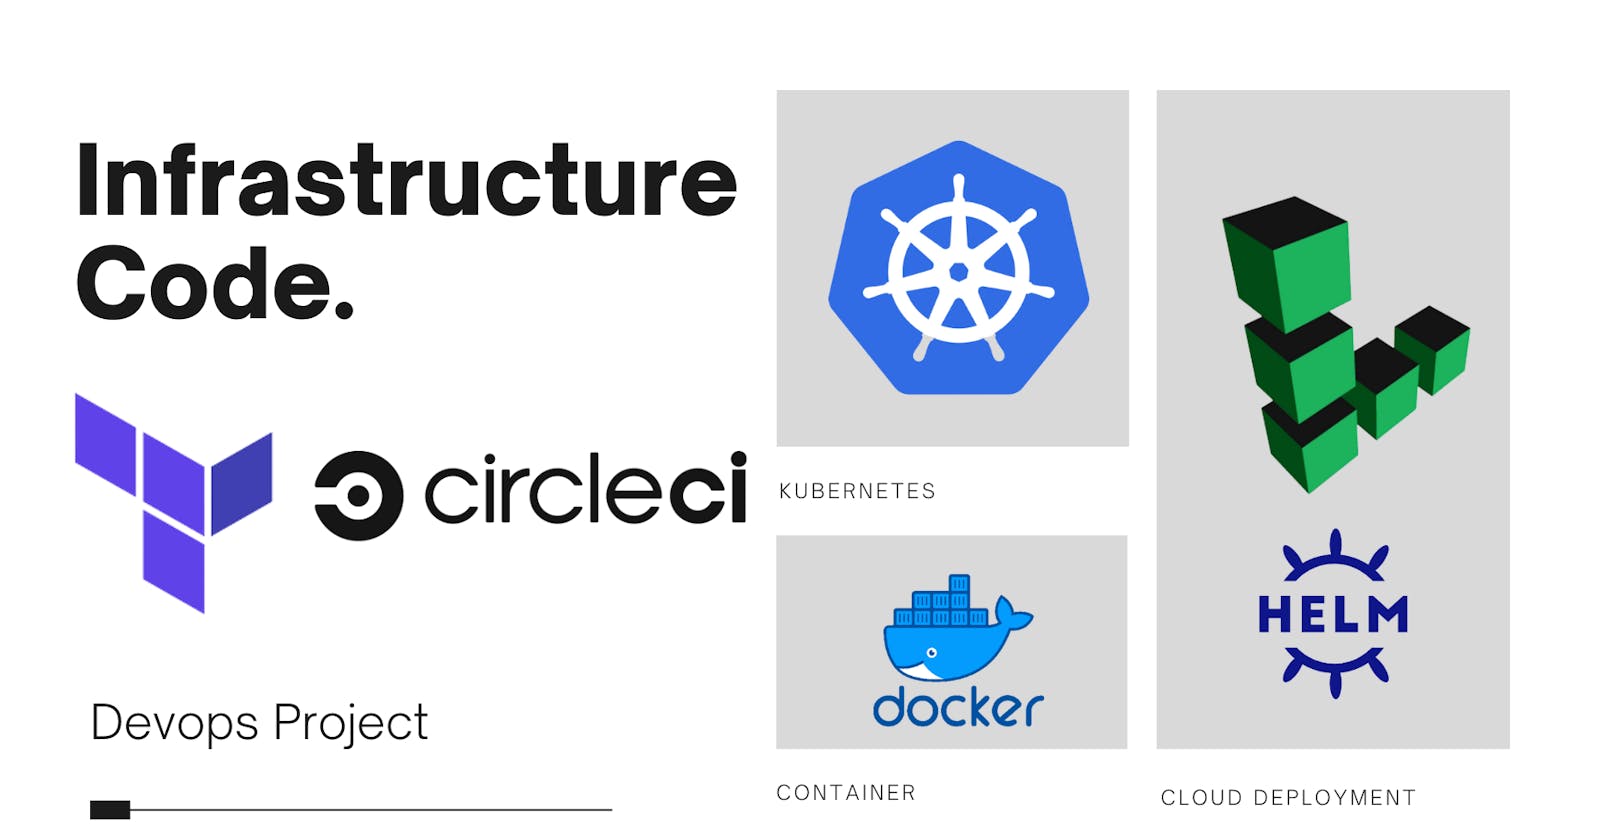
Infrastructure as Code with React , Terraform, Helm, Circle CI, linode, Kubernetes, Docker


Table of contents


No headings in the article.
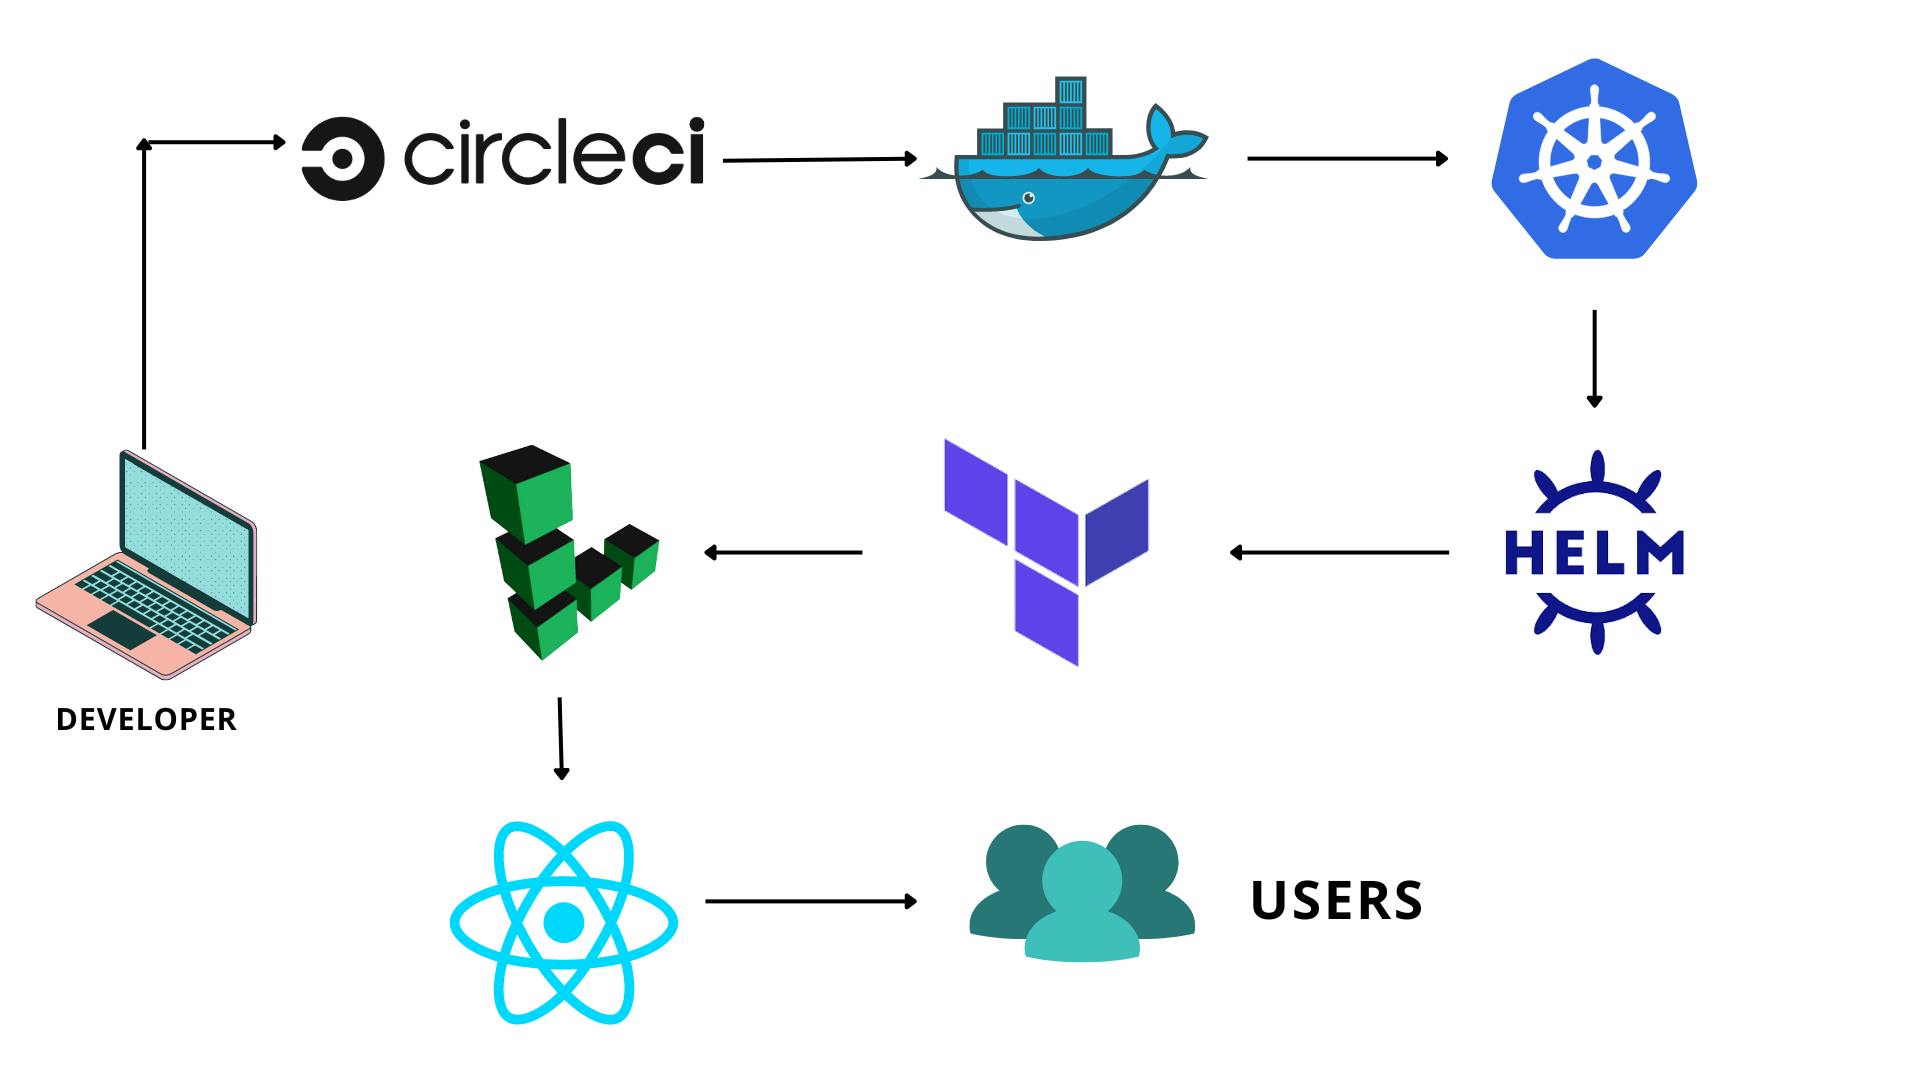
One of my most vast and big projects till now, Today I will be demonstrating how you can deploy a simple React App to Kubernetes and then to a cloud cluster through a pipeline. Taking your application from your local system to a production Cloud Cluster for use of thousand's of users.
System Architecture Design
Steps required for this project :
- Create a React Application in Visual studio code
- Dockerize it using Docker.
- Create a service and deployment using Kubernetes with minikube cluster.
- Create Infrastructure on Linode (Cloud) using Terraform.
- Using helm and helm charts create a release for your react app.
- Test if your Linode Kubernetes Cluster is working on your local machine and helm.
- Create a Continuous Integration and Continues Delivery Pipeline using Circle Ci.
- Congratulations your React Application is successfully running on the Cloud for
thousands of users !
Step 1: Create a React Application.
The command for creating a bare react project is,
npx create-react-app {application name}
You can create or modify anything you want there in your react application, you can create a whole application with styling, backend, sleek User Interfaces.
I have just edited the heading of my application for the simplicity of this project, as the main motive is to take this application from developing to a production working stage for users.
import "./App.css";

function App() {
  return (
    <div className="App">
      <header className="App-header">
        <h1>Kubernetes and Devops</h1>
      </header>
    </div>
  );
}

export default App;
Step 2: Dockerize it using docker
Let's create a Dockerfile for our application.
FROM node:13.12.0-alpine as build

WORKDIR /app

COPY package*.json ./

RUN npm install

COPY . ./

RUN npm run build

# multi-stage docker build
# production environment
FROM nginx:stable-alpine

# copy built app to nginx
COPY --from=build /app/build /usr/share/nginx/html

# note to expose port 80
EXPOSE 80

# start nginx server
CMD ["nginx", "-g", "daemon off;"]
We need to build an image out of it now, so let's go
docker build -t jyotindrakt/development-demo:v1
Note: Here -t is the tag flag we need to provide, v1 is the tag for our image, jyotindrakt/development-demo - this is our image name
Let's push this docker image from a local system to a centralized location that is DockerHub.
docker push {image_id}
Step 3: Let's add some Container Orchestration with Kubernetes.
We will create a demo-prod.yaml file where we will write yaml files for development and service.
kind: Deployment
apiVersion: apps/v1
metadata:
  name: deployment-demo
spec:
  replicas: 2
  selector:
    matchLabels:
      app: deployment-demo
  template:
    metadata:
      labels:
        app: deployment-demo
    spec:
      containers:
        - name: deployment-demo
          image: jyotindrakt/development-demo:v1
          ports:
            - containerPort: 80
      restartPolicy: Always

---
kind: Service
apiVersion: v1
metadata:
  name: deployment-demo
spec:
  type: LoadBalancer
  selector: # scans for pods that match this selector
    app: deployment-demo
  ports:
    - port: 80
      protocol: TCP
Apply this file using kubectl apply -f demo-prod.yaml
Great, you have successfully created kubernetes pod in your cluster.
Time to make it big !
Step 4: Create Infrastructure on Linode (cloud) using Terraform.
First you need to create your account on Linode and create a personal access token there in the settings tab.
Note: Make sure you have terraform installed in your system
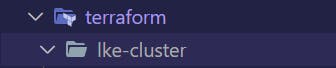
Create a terraform folder in your root directory.
 then create another folder with the name lke-cluster
Here create a main.tf file and write the following code.
terraform {
  required_providers {
    linode = {
      source = "linode/linode"
      version = "1.27.1"
    }
  }
}
//Use the Linode Provider
provider "linode" {
  token = var.token
}

//Use the linode_lke_cluster resource to create
//a Kubernetes cluster
resource "linode_lke_cluster" "foobar" {
    k8s_version = var.k8s_version
    label = var.label
    region = var.region
    tags = var.tags

    dynamic "pool" {
        for_each = var.pools
        content {
            type  = pool.value["type"]
            count = pool.value["count"]
        }
    }
}

//Export this cluster's attributes
output "kubeconfig" {
   value = linode_lke_cluster.foobar.kubeconfig
   sensitive = true
}

output "api_endpoints" {
   value = linode_lke_cluster.foobar.api_endpoints
}

output "status" {
   value = linode_lke_cluster.foobar.status
}

output "id" {
   value = linode_lke_cluster.foobar.id
}

output "pool" {
   value = linode_lke_cluster.foobar.pool
}
now we create a variables.tf file to assign our secrets and variables that are confidential.
variable "token" {
      description = "Your Linode API Personal Access Token. (required)"
    }

    variable "k8s_version" {
      description = "The Kubernetes version to use for this cluster. (required)"
      default = "1.23"
      type = string
    }

    variable "label" {
      description = "The unique label to assign to this cluster. (required)"
      default = "default-lke-cluster"
    }

    variable "region" {
      description = "The region where your cluster will be located. (required)"
      type = string
      default = "us-east"
    }

    variable "tags" {
      description = "Tags to apply to your cluster for organizational purposes. (optional)"
      type = list(string)
      default = ["testing"]
    }

    variable "pools" {
      description = "The Node Pool specifications for the Kubernetes cluster. (required)"
      type = list(object({
        type = string
        count = number
      }))
      default = [
        {
          type = "g6-standard-2"
          count = 1
        },
        {
          type = "g6-standard-2"
          count = 1
        }
      ]
    }
Here g6-standard-2 are the machines/cpu's that I want to run for running my application on the linode cloud.
Next to apply the above files and configure it on the cloud, you execute the following commands.
terraform init this will initialize the terraform environment.
terrraform plan this will give you the layout of what all services would be executed if you apply this.
terraform apply this will apply the terraform files and now you can check your Linode's dashboard.

This is the Kubernetes Cluster we have created through Terraform ! As you can see we have simply skiped the whole User Interface procedure of creating clusters with clicks and webpages.
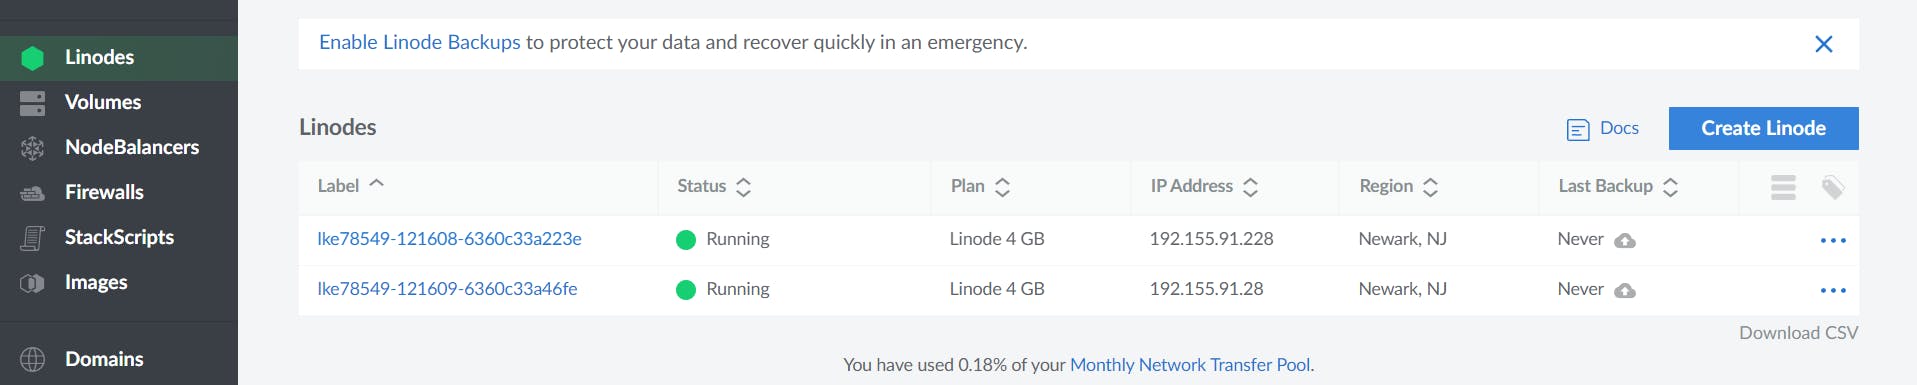
These are the deployments we have created, also a service as a LoadBalancer.
We have implemented LoadBalancer as a service so that if there is a lot of traffic on our web application then the LoadBalancer can share the traffic load between these 2 cpu's.
Step 5: Connect your Linode Cluster with your local system
After you have configured your Linode setup, now it's time to connect that cluster with your local system
From the Linode Kubernetes Dashboard, download the KubeConfig file and move it to your project directory inside the lke-cluster folder.
you need to export the file with the path.
export KUBECONFIG = ./terraform/lke-cluster/{kubeconfigfilename}
This thing sometimes doesn't work if you have not provided the right path. You can check it using
echo $KUBECONFIG
you should get the kubeconfig filename.
now execute the following command to get if your cluster is running.
kubectl config get-contexts
kubectl get pods
kubectl get svc

This becomes as a proof that your Linode Cluster is connected now.
Step 6: Let's include helm now for deployments.
Helm is used a package manager, Helm helps you manage Kubernetes applications. Helm Charts help you define, install, and upgrade even the most complex Kubernetes application.
Create a new folder in your root directory as helm-charts.
Execute the following command, so that the helm-chart will create a chart.yaml and various other files for us by-itself !
helm install react-app ./react-app
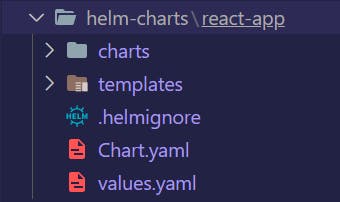
You can open the templates folder and change the files according to your need and the services you are creating.
Now cd into the helm-charts folder and execute the following commands to check if your linode cluster is accessible from the helm-charts directory or not !
kubectl get svc
kubectl get pods
Now let's uninstall the release as we will be setting up a pipeline for all these processes we did.
Step 7: The Circle CI Pipeline Setup
As a developer if you reach a certain stage of expertise you understand and practice this concept DRY more which is Don't Repeat Yourself. Rather be it a fullstack developer , a devops engineer etc. We always try to use reusable components or create a script for the automation process.
As a developer it's truly a challenge to keep repeating things every single time. Suppose for example I want to modify my React Application. I would have to go through all these processes again configuring Docker, Kubernetes, Terraform, Linode , Helm yet again ! It will take me hours again to configure all these.
Here's where A Circle Ci pipeline comes into play. I have to code just one Configuration file for Circle Ci, and these whole process will repeat n number of times or infinite times, whenever we make change to our code and commit it to GitHub. A developer has to write this just one config file and then he can chillax and enjoy his coffee and see his code getting deployed successfully to the cloud and the application runs too well !
Create a .circleci folder in the root directory.

You need to write this config.yaml file.
version: 2.1

orbs:
  helm: circleci/helm@1.2.0
  kubernetes: circleci/kubernetes@0.11.2
  terraform: circleci/terraform@2.0.1
  node: circleci/node@4.7.0

workflows:
  BTD:
    jobs:
      - test
      - build_docker:
          requires:
            - test
      - deploy_linode:
          requires:
            - build_docker

jobs:
  test:
    executor: node
    steps:
      - checkout
      - node/install-packages
      - run:
          command: npm run test
  build_docker:
    executor: node
    steps:
      - checkout
      - setup_remote_docker
      - run:
          name: Build Docker image
          command: |
            docker build -t $DOCKER_REPOSITORY:$CIRCLE_SHA1 .
            echo $DOCKER_PASSWORD | docker login -u $DOCKER_USER --password-stdin
            docker push $DOCKER_REPOSITORY:$CIRCLE_SHA1
  deploy_linode:
    executor: python
    steps:
      - checkout
      - run:
          name: Install JQ
          command: |
            if [[ $EUID == 0 ]]; then export SUDO=""; else export SUDO="sudo"; fi
            $SUDO apt-get update && $SUDO apt-get install -y jq
      - run:
          name: Set up LKE kubeconfig
          command: |
            KUBE_VAR=$( curl -H "Authorization: Bearer $LINODE_TOKEN" https://api.linode.com/v4/lke/clusters/${LINODE_CLUSTER_ID}/kubeconfig | jq .kubeconfig )
            lke_var="export KUBECONFIG_DATA=$KUBE_VAR"
            echo $lke_var >> $BASH_ENV
      - kubernetes/install-kubectl
      - kubernetes/install-kubeconfig:
          kubeconfig: KUBECONFIG_DATA
      - helm/install-helm-client:
          version: v3.0.0
      - helm/upgrade-helm-chart:
          chart: ./helm-charts/react-app
          release-name: deployment-demo
          no-output-timeout: 5m
          values-to-override: image.tag=${CIRCLE_SHA1},image.repository=${DOCKER_REPOSITORY}
      - run:
          name: Test kubectl
          command: |
            kubectl get services
            kubectl get pods
executors:
  node:
    docker:
      - image: cimg/node:14.0.0
  python:
    docker:
      - image: cimg/python:3.9.5
Note: On the Circle Ci Dashboard you need to go to your Project Settings > Environment Variables and add the environment variables specified in the circleci config file.
Example:
$DOCKER_REPOSITORY
$DOCKER_USER
$DOCKER_PASSWORD
$LINODE_TOKEN
$LINODE_CLUSTER_ID
$HELM_DEBUG = TRUE
$KUBECONFIG = {path of the kubeconfig file} (this is where I was stuck for a lot of time and many other production build errors too)
Here orbs are the libraries that are available at circle ci, where it can access and run the jobs according to their versions.
We have defined various commands and jobs for each stage.
First is the testing stage of our react application.
Second is the docker stage.
Third is the deploy_linode job, where we will install JQ, helm, kubectl and kubeconfig and
configure the environments for deploying linodes now.
Fourth is deployment of nodes and getting the svc and deployments using the kubectl
get svc command.
Fifth : here is the place where we get our External IP Address where our React application is succesfully deployed and running at no issue !.
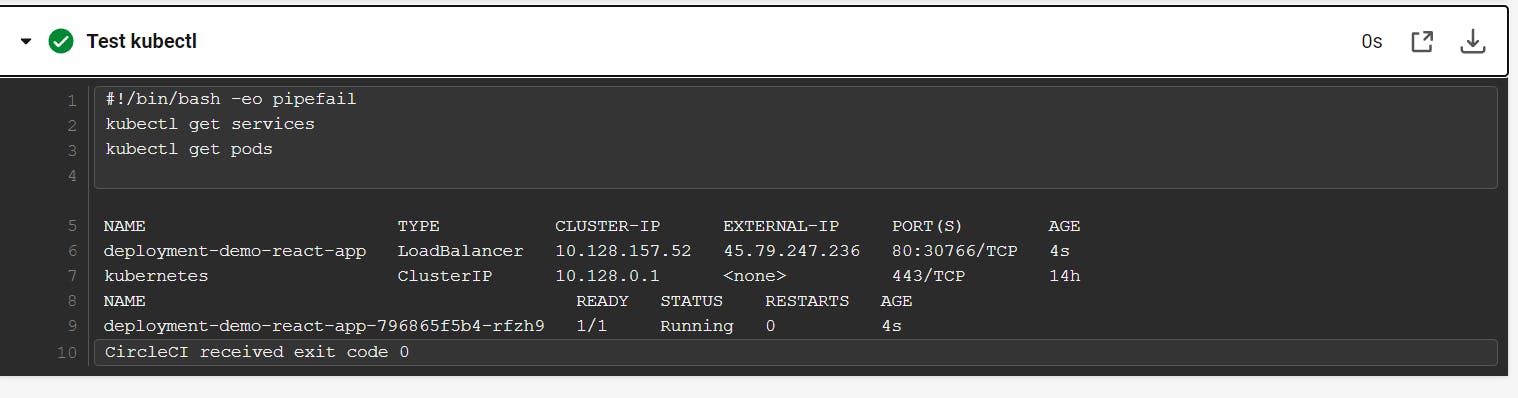
Copy paste this External IP Address on your browser and you will get your React Application.
Note: Speaking up honestly , this was not an easy job. I encountered more than 50+ errors and also production build errors in these whole process, but it is what it is. You gotta find out the errors and solve it all by your own through the help of internet and your own efforts. Nothing comes easy.
15 freaking failed builds and the 16th one cracked up as successfull !

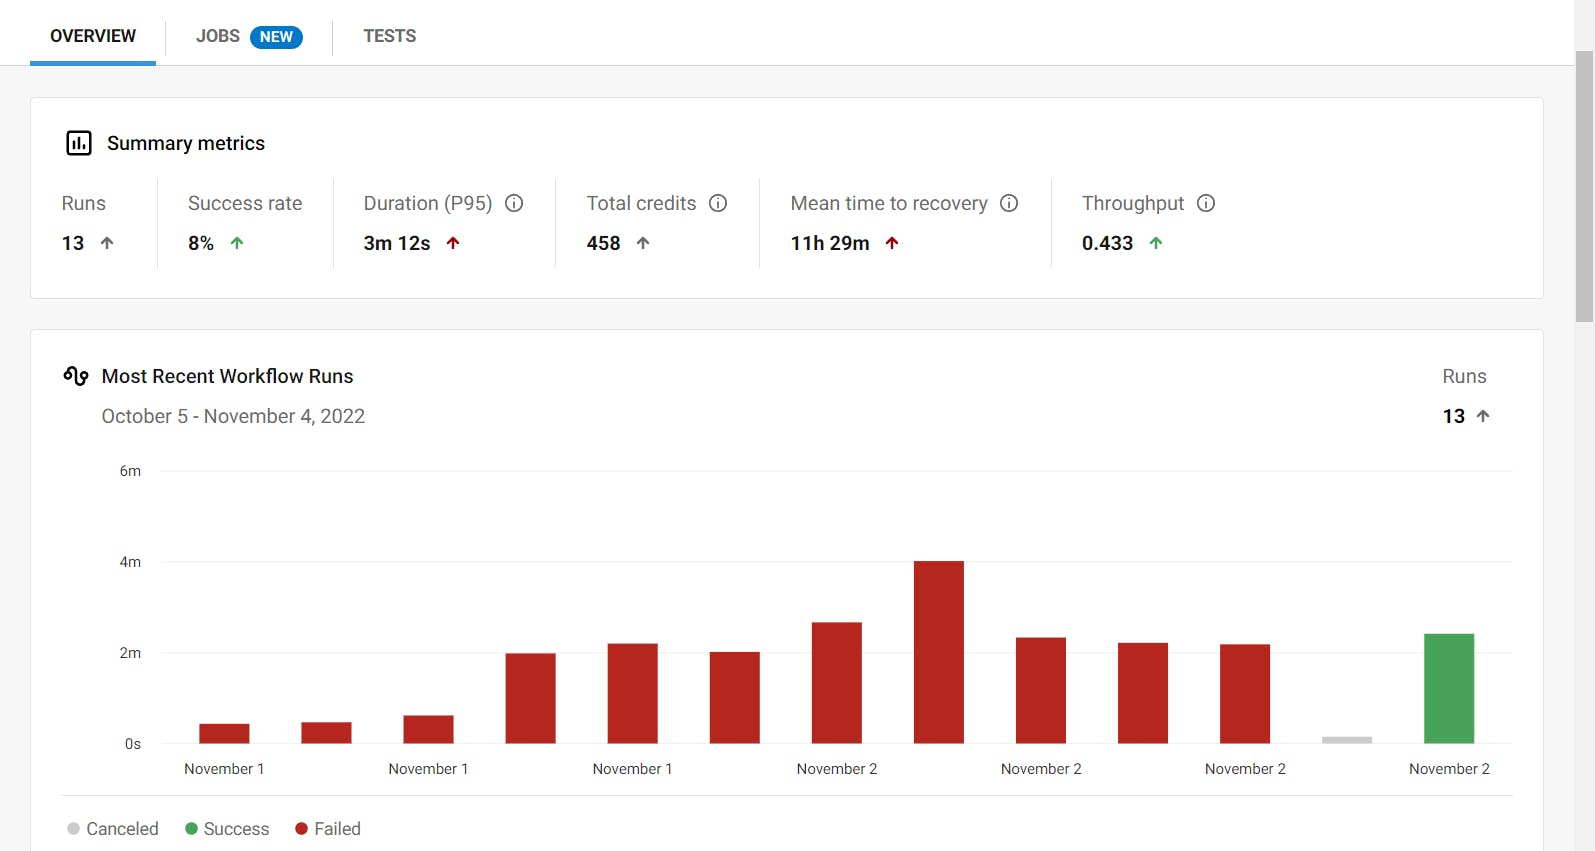
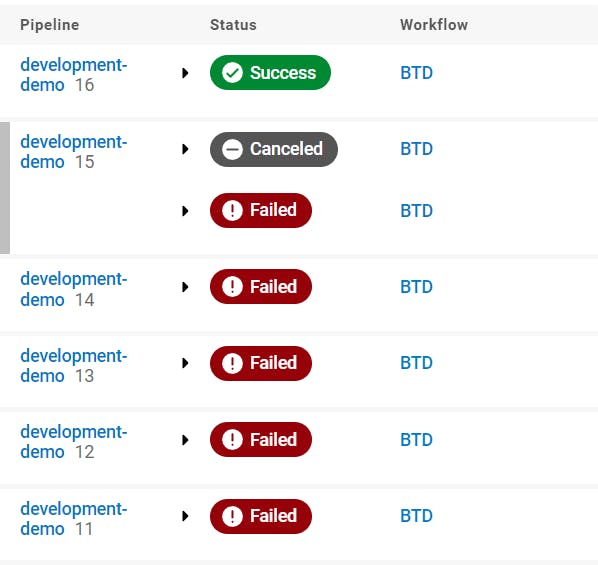
Finally everything worked out !